| yum update mysql* yum update httpd* |
| mkdir /var/www/html/zm |
| wget http://www.zoneminder.com/downloads/ZoneMinder-1.22.3.tar.gz |
| tar
-xvf ZoneMinder-1.22.3.tar.gz ./configure --with-webdir=/var/www/html/zm –with-cgidir=/var/www/html |
| ./configure --with-webdir=/var/www/html/zm –with-cgidir=/var/www/html “CONFIG OPTION(S) HERE” |
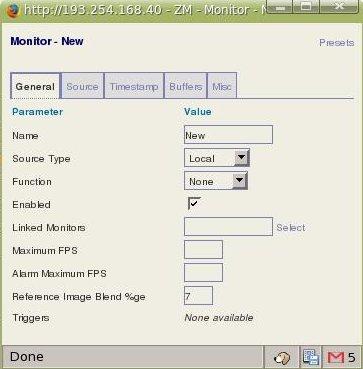
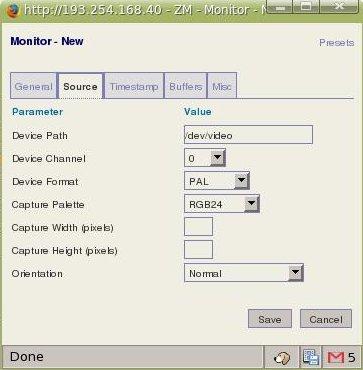
| ZM_DB_HOST
ZM_DB_NAME ZM_DB_USER ZM_DB_PASS |
| ./configure
--with-webdir=/var/www/html/zm
–with-cgidir=/var/www/html ZM_DB_USER=jedibob
ZM_DB_HOST=localhost
ZM_DB_PASS=darthvader ZM_DB_NAME=detector |
| wget
http://search.cpan.org/CPAN/authors/id/S/SB/SBECK/DateManip-5.44.tar.gz tar -xvf DateManip-5.44.tar.gz cd DateManip-5.44 perl Makefile.PL make make test make install |
| make |
| mysql
mysql < db/zm_create.sql |
| mysql mysql grant select,insert,update,delete on <database name>.* to '<database user>'@localhost identified by '<database password>'; |
| grant
select,insert,update,delete on zm.* to 'zmuser'@localhost
identified by 'zmpass'; |
| quit |
| service
mysql restart |
| make
install |
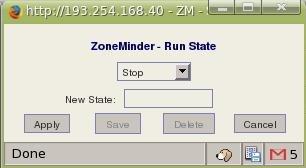
| /usr/local/bin/zmpkg.pl
start |
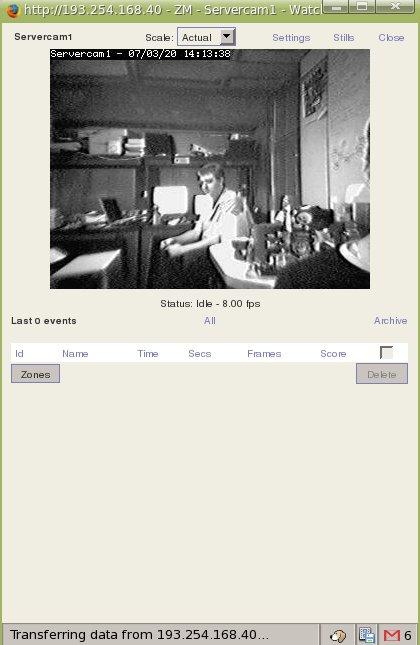
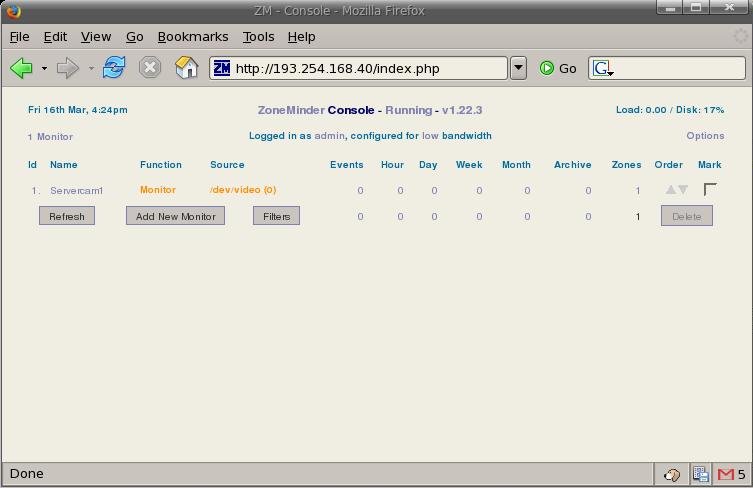
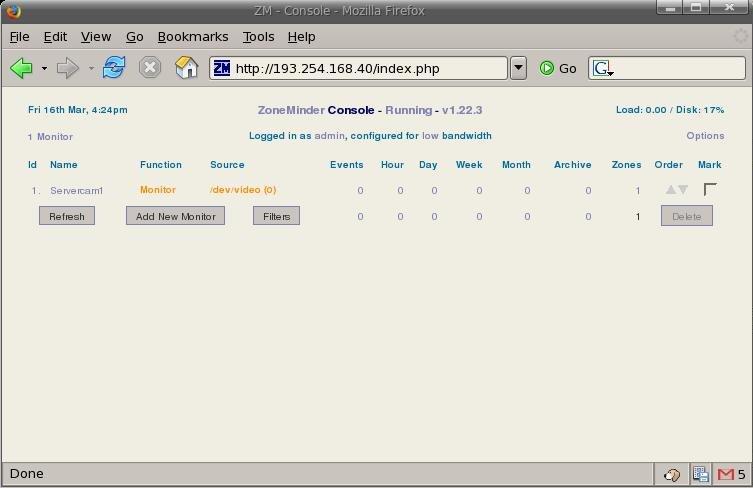
| links http://127.0.0.1 |
| http://www.zoneminder.com/wiki/index.php/Welcome |

| crontab -e |
| 0 8 * * 1-5
/usr/local/bin/zmpkg.pl Monitor 0 17 * * 1-5 /usr/local/bin/zmpkg.pl Detection * * * * 0,6 /usr/local/bin/zmpkg.pl Detection |